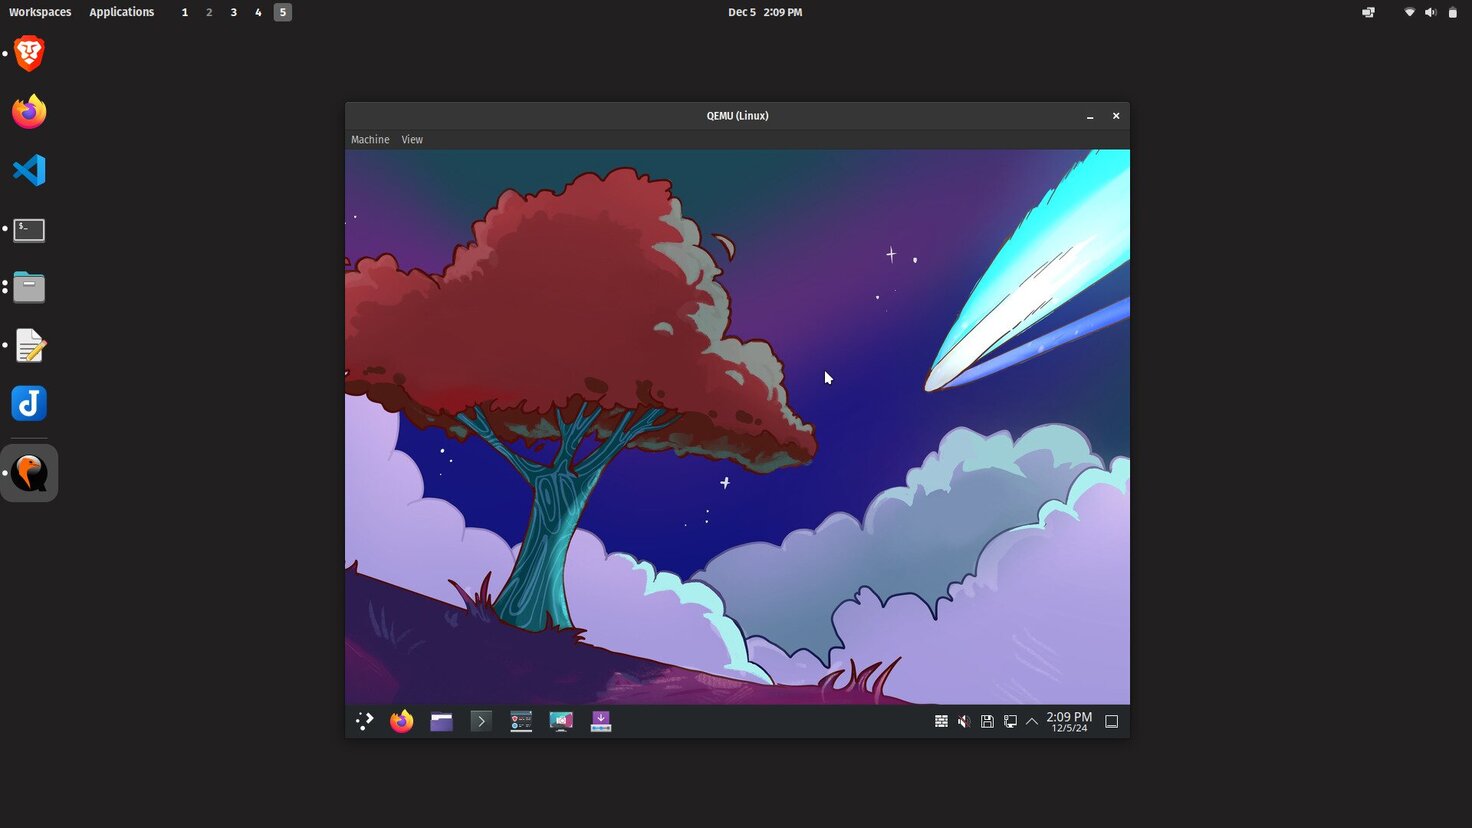
Creating Virtual Machines Using QEMU/KVM on Linux
What is QEMU? QEMU is a free and open-source machine emulator that can perform hardware virtualization. It is often faster than VMWare or Virtualbox because it is a KVM-based virtualization platform.
What is KVM? KVM is a virtualization module in the Linux kernel.
In this guide, we will manage our virtual machines through the terminal, but you could use virt-manager as a graphical alternative for controlling virtual machines.
The advantage of using the CLI instead of the GUI is speed and convenience. When testing different Linux distributions or desktop environments, you can reuse the same command to quickly create new virtual machines with the same settings.
Table of Contents
Downloading QEMU
QEMU is packaged by most Linux distributions. Just run the respective command for yours.
Downloading .iso
Download the .iso file from the official website of the operating system you want to use.
Booting live system
If you simply want to try some Linux distributions or desktop environments without any changes being persistent, follow these instructions.
Navigate to the directory where you downloaded the .iso file and run the following command in your terminal to boot the live system.
qemu-system-x86_64 \
  --enable-kvm \
  -m 4G \
  -smp 2 \
  -device VGA,vgamem_mb=64 \
  -boot d \
  -cdrom linux.iso
The -m parameter specifies the amount of RAM and the -smp parameter determines the number of CPU cores allocated to the virtual machine.
If you open your "Settings" program and scroll down to "About", there is a good chance you'll see information about your machine there. Just assign half of those resources to the virtual machine.
The default graphics memory (16 MB) is insufficient to be able to support resolutions higher than 1920x1024. The parameter -device VGA,vgamem_mb=64 fixes that problem.

Get in/out of fullscreen mode:
Ctrl + Alt + FRelease mouse from the window:
Ctrl + Alt + G
You can create a Bash script and use it every time you want to test a live system. After saving in a file qemu-iso and making it executable with chmod +x qemu-iso in the terminal, you can quickly test live .iso by passing it as a parameter like qemu-iso linux.iso.
#!/bin/bash

# Check if a file is provided as a parameter
if [ -z "$1" ]; then
  echo "Usage: qemu-iso <iso-path>"
  exit 1
fi

FILE=$1

# Check if the provided file exists
if [ ! -f "$FILE" ]; then
  echo "Error: File '$FILE' not found!"
  exit 1
fi

# Run the QEMU command with the provided ISO file
qemu-system-x86_64 \
  --enable-kvm \
  -m 4G \
  -smp 2 \
  -device VGA,vgamem_mb=64 \
  -boot d \
  -cdrom $FILE
Booting installed OS
If you want to take a step further and actually install the operating system somewhere so the changes are persistent, follow these instructions.
Creating data storage
You can create a .qcow2 file that will act as a virtual data storage. Use qemu-img like this:
qemu-img create -f qcow2 disk.qcow2 20G
You've created a data storage file named disk.qcow2 that contains 20 GB of memory.
Installing OS on storage
Now you can modify the previous command to install the operating system in the virtual disk that you created earlier.
Add -hda disk.qcow2 to our previous command and run the live system once again. This time it will recognize the new disk and you will have the option to install the system there.
qemu-system-x86_64 \
  --enable-kvm \
  -m 4G \
  -smp 2 \
  -device VGA,vgamem_mb=64 \
  -boot d \
  -cdrom linux.iso \
  -hda disk.qcow2
You can create a Bash script and use it every time you want to install an operating system into the virtual data storage. After saving in a file qemu-install and making it executable with chmod +x qemu-install in the terminal, you can install OS to disk by passing them as a parameter like qemu-install disk.qcow2 linux.iso.
#!/bin/bash

# Check if 2 files are provided as parameters
if [ "$#" -ne 2 ]; then
  echo "Usage: qemu-install <disk-path> <iso-path>"
  exit 1
fi

DISK_FILE=$1
ISO_FILE=$2

# Check if the provided disk file exists
if [ ! -f "$DISK_FILE" ]; then
  echo "Error: Disk file '$DISK_FILE' not found!"
  exit 1
fi

# Check if the provided ISO file exists
if [ ! -f "$ISO_FILE" ]; then
  echo "Error: ISO file '$ISO_FILE' not found!"
  exit 1
fi

# Run the QEMU command with the provided disk file
qemu-system-x86_64 \
  --enable-kvm \
  -m 4G \
  -smp 2 \
  -device VGA,vgamem_mb=64 \
  -boot d \
  -cdrom $ISO_FILE \
  -hda $DISK_FILE

After installing the operating system, you can boot from disk if you remove both -boot d and -cdrom linux.iso flags from our command.
qemu-system-x86_64 \
  --enable-kvm \
  -m 4G \
  -smp 2 \
  -device VGA,vgamem_mb=64 \
  -hda disk.qcow2
You can create a Bash script and use it every time you want to start the virtual machine. After saving in a file qemu-disk and making it executable with chmod +x qemu-disk in the terminal, you can quickly boot any disk by passing it as a parameter like qemu-disk disk.qcow2.
#!/bin/bash

# Check if a file is provided as a parameter
if [ -z "$1" ]; then
  echo "Usage: qemu-disk <disk-path>"
  exit 1
fi

FILE=$1

# Check if the provided file exists
if [ ! -f "$FILE" ]; then
  echo "Error: File '$FILE' not found!"
  exit 1
fi

# Run the QEMU command with the provided disk file
qemu-system-x86_64 \
  --enable-kvm \
  -m 4G \
  -smp 2 \
  -device VGA,vgamem_mb=64 \
  -hda $FILE
Bonus: MacOS VM
There is a nice project that helps to set up a macOS virtual machine using QEMU accelerated by KVM.